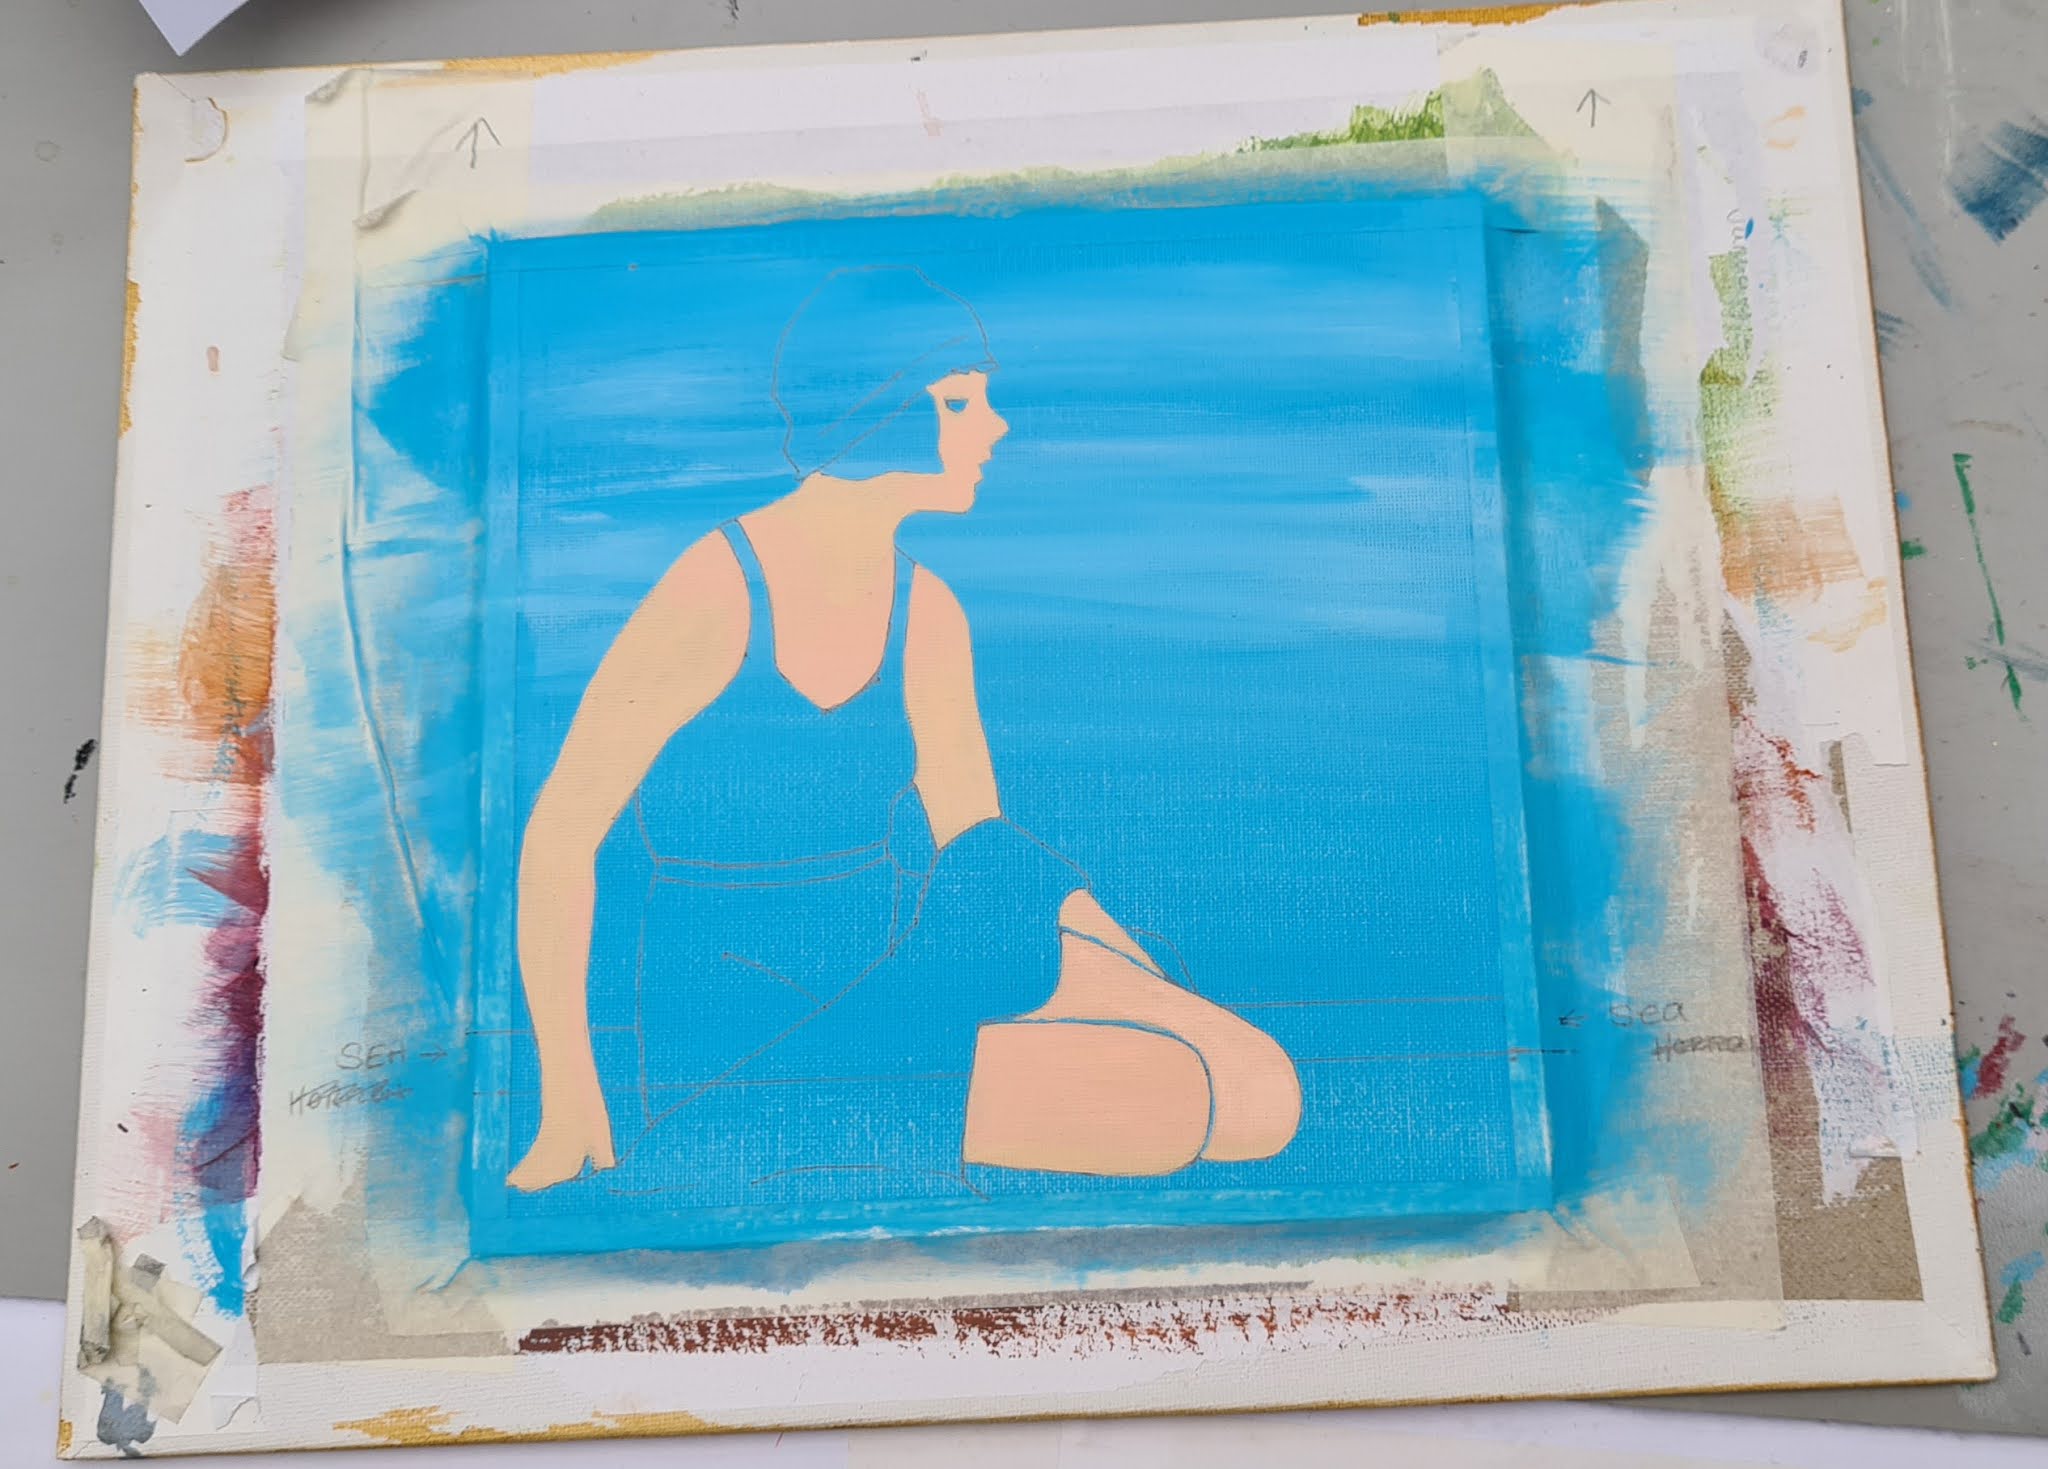
I always tape my flat canvas panels to a piece of larger board. I find it easier to work without an easel but I have a desktop sized one for when it is needed. Taping the panel to a board gives you handling room. As I don't use the easel I hold my canvas all the time so having it mounted onto a larger board keeps finger marks from your finished piece. To Mount it I put Masking Tape around the edges of my canvas panel, at a width of about 5mm and pressed it down firmly to give a nice crisp and clean frame.
 |
| This pic shows the template cut out ready to draw around |
So as you can see I have mounted the Canvas Panel onto my larger Board with Masking Tape and I am ready to go. In this instance, I am going to paint a background before drawing around my cutout template.
Daler Rowney Graduate Acrylic Coeruleum Blue Hue mixed with Pebeo Studio Acrylics Titanium White gave the main light blue Summer Sky. I then added a few Titanium White wisps in (not too much) just for some wispy high cloud.
Once it was dry I decided whereabouts the horizon would be and drew around my template (below). I had small pieces of Masking Tape to hold it in place while I carefully drew around it. Put them in easy places where you can fill in the detail easily after removing the template.
 |
This pic shows the positioning of temporary tape to
hold template in place |
Keep your template handy, don't throw it away as you will need it to refer to.
 |
| Rosa fills in the gaps of the template |
Drawing in the rest of the details can be tricky so take your time. Have an eraser handy, you are going to need it.
 |
| Basic outlines are drawn |
I hope you can see the pencil lines in the above photo. You just need basic outlines, I always think of it like I am creating an image in a colouring book. You don't need to worry about the finer details at this point. Here is a zoomed in Image.
 |
| The basic image is now transferred to the canvas panel |
As I found this original image online, of course it doesn't belong to me. I don't want my version to be a complete carbon copy of the original one so I will give the lady a different bathing suit and hat so that it has my own personal touch to it.


These photos show how I built up the skin colour using five different colours. I especially like her upper right arm, it looks slightly sunburnt but it is actually in the shade. But I manged to blend the colours quite well here.
I just carried on from here. The next areas I worked on were face and hair. I used Mars Black and a very fine brush to get the eye just right. With one tiny Titanium White dot in the centre. I gave her jet black hair too. I tried to give her hair a bit of a wavy style, typical of the art deco era.
After completing hair and face I worked on her Swimsuit and Hat. I could not decide what colour to go for and I decided on Cream which I think was a good choice.
You can see it all coming together now. At this point I still hadn't decided what colour the towel would be. I felt it needed to be something different from the Cream of her suit and the blue of the sky. I nearly went with Navy but settled on Burgundy in the end.