Showing posts with label Acrylic. Show all posts

Wednesday, 9 June 2021

๐Ÿ˜ Elephants on the Plains

036 Elephants on the Plains


This project has been done in exactly the same way as my 'African Savannah' that I finished at the end of May and I have even used the same tree template I made then.  I am hoping that the 'African Savannah' piece will be sold in the Charity Sale at the Hobbycraft store in Newbury so I made a similar piece for my own collection or to sell elsewhere.  It was still experimental as I wanted to see how similar to my original I could get it.  Bearing in mind that I wanted to make it physically different everything else is pretty close.  If I do manage to sell the four that have been donated, and I hope I do, I could quite easily do them again for maybe other charities too.

So of course, the first thing to do here was the taping of the border and then the Sun.  We need to make sure that a piece of canvas that is sun-shaped is kept pure white so that it can stay the nice bright focal point of the piece.  It would be no good painting the sky and then trying to put white or yellow over it, as the orange and reds would just show through.  I used the same technique as last time drew around a 5p piece and carefully trimmed around it.  I then placed it on the bare canvas where the sun will be.

After painting in the sky using Violet, Red, Orange and Yellow paints (making sure of course that the brightest part of the sky was nearest to the dot) it was time to allow it to dry and then remove the dot.  It can be a little tricky to find the edge and also you don't want to scuff your beautiful sky.  I did end up doing that on this one and had to touch it up, but you just need to take a little care and have patience.  I still think using the corner of a craft knife works well.

On this piece I painted the outer edge of the circle Yellow and the rest was white.  I couldn't remember exactly what I did last time.  But comparing photos now, I painted it all white last time and I think it looks better that way too.


Next I got my templates ready.  The Tree was reused from the 'African Savannah' and I found a picture online of a Mother and Baby Elephant.  Perfect.

The picture above shows them taped into position ready to draw around.


And now it is time to remove the templates and fill in all the lines.  I used Winsor and Newton's Mars Black for this with a few drops of Daler Rowney Flow Enhancer mixed in.  This photo was taken while colouring it in.


Sunday, 18 April 2021

๐Ÿ‘‘ HM Queen Elizabeth II

 020 HM Queen Elizabeth II

Artist's Notes:  I can still see areas around the chin area that don't look correct to me but I have chosen to leave as it is.  I could quite easily 'do too much' now and ruin the good work I have done.

Here's how I did it

Her Majesty had started out as a New Challenge for me.  Painting a Famous Public Figure.  You can't get much more famous than Queen Elizabeth II.

I am going to attempt to paint Her Majesty the Queen.  Rather than draw freehand, I am going to try something different.  It is a completely new idea I had and I want to see how it turns out.

First of all I printed out the picture I want to paint on a sheet of A4 paper.


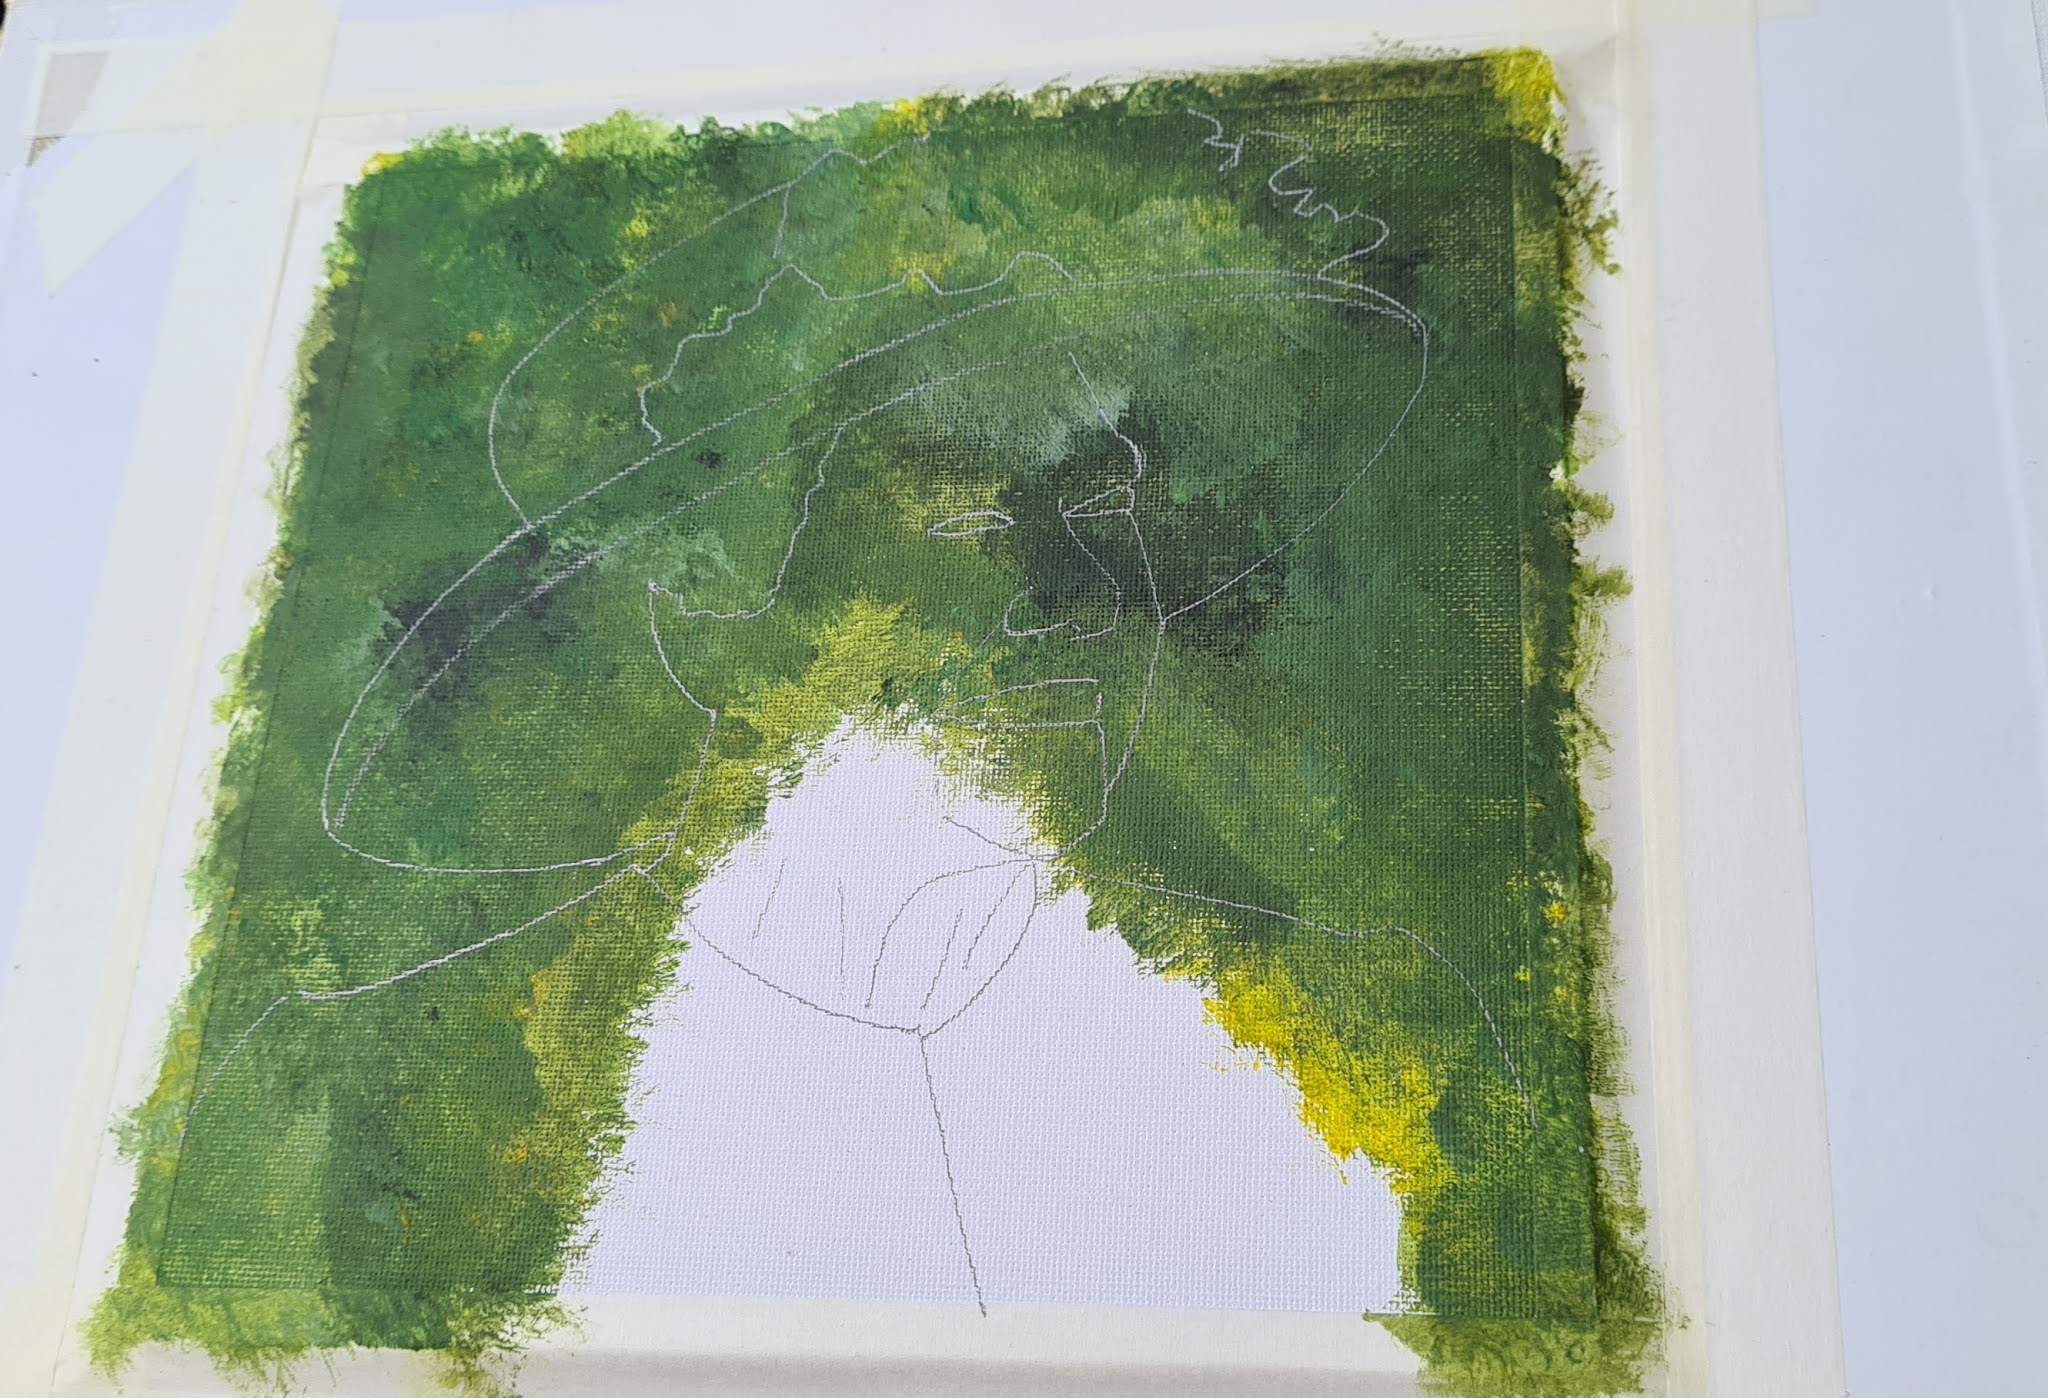
I then prepared my 8"x 8" Canvas panel by taping it (using Masking Tape) to a larger board so I can handle it easier without messing up the 8"x 8" canvas with fingerprints and smudges.  After this I painted a background.  

In the original photo, her Majesty has greenery behind her so I used lots of Sap Green and daubs of Naples Yellow here and there, stabbing at the canvas rather than stroking it.


The next step was to cut her Majesty out of the printout.  I actually put it against a window and drew around it which was quite un-necessary and could've just as easily cut out that original, duh!

Anyway, I then drew around the figure so that I had the basic outline.  I then drew the rest in free hand.  


It is quite faint in this picture but you can see the pencil lines in this photo.  Once I had the basic shapes down on the canvas it was just a case of colouring it in.


At the end of today this is how far I have got. I have used various yellows for the Queens attire.  This is really pretty good so far.  I am really very pleased with how it is progressing.  

But for me the challenge will be the next bit.  When I study a photo of someone I see the face as irregular blocks of different colours. The colours may only differ very slightly in another shade but at 2 metres away it looks completely realistic.  

The trick is to get the right 'colour', the right 'shapes', and then getting them to 'blend'.  Not Easy!

Tuesday, 30 March 2021

๐ŸŽถ Love is like a grain of Sand


  015 'Love is like a grain of sand' 

from the 1982 song by Fleetwood Mac,  oh Diane


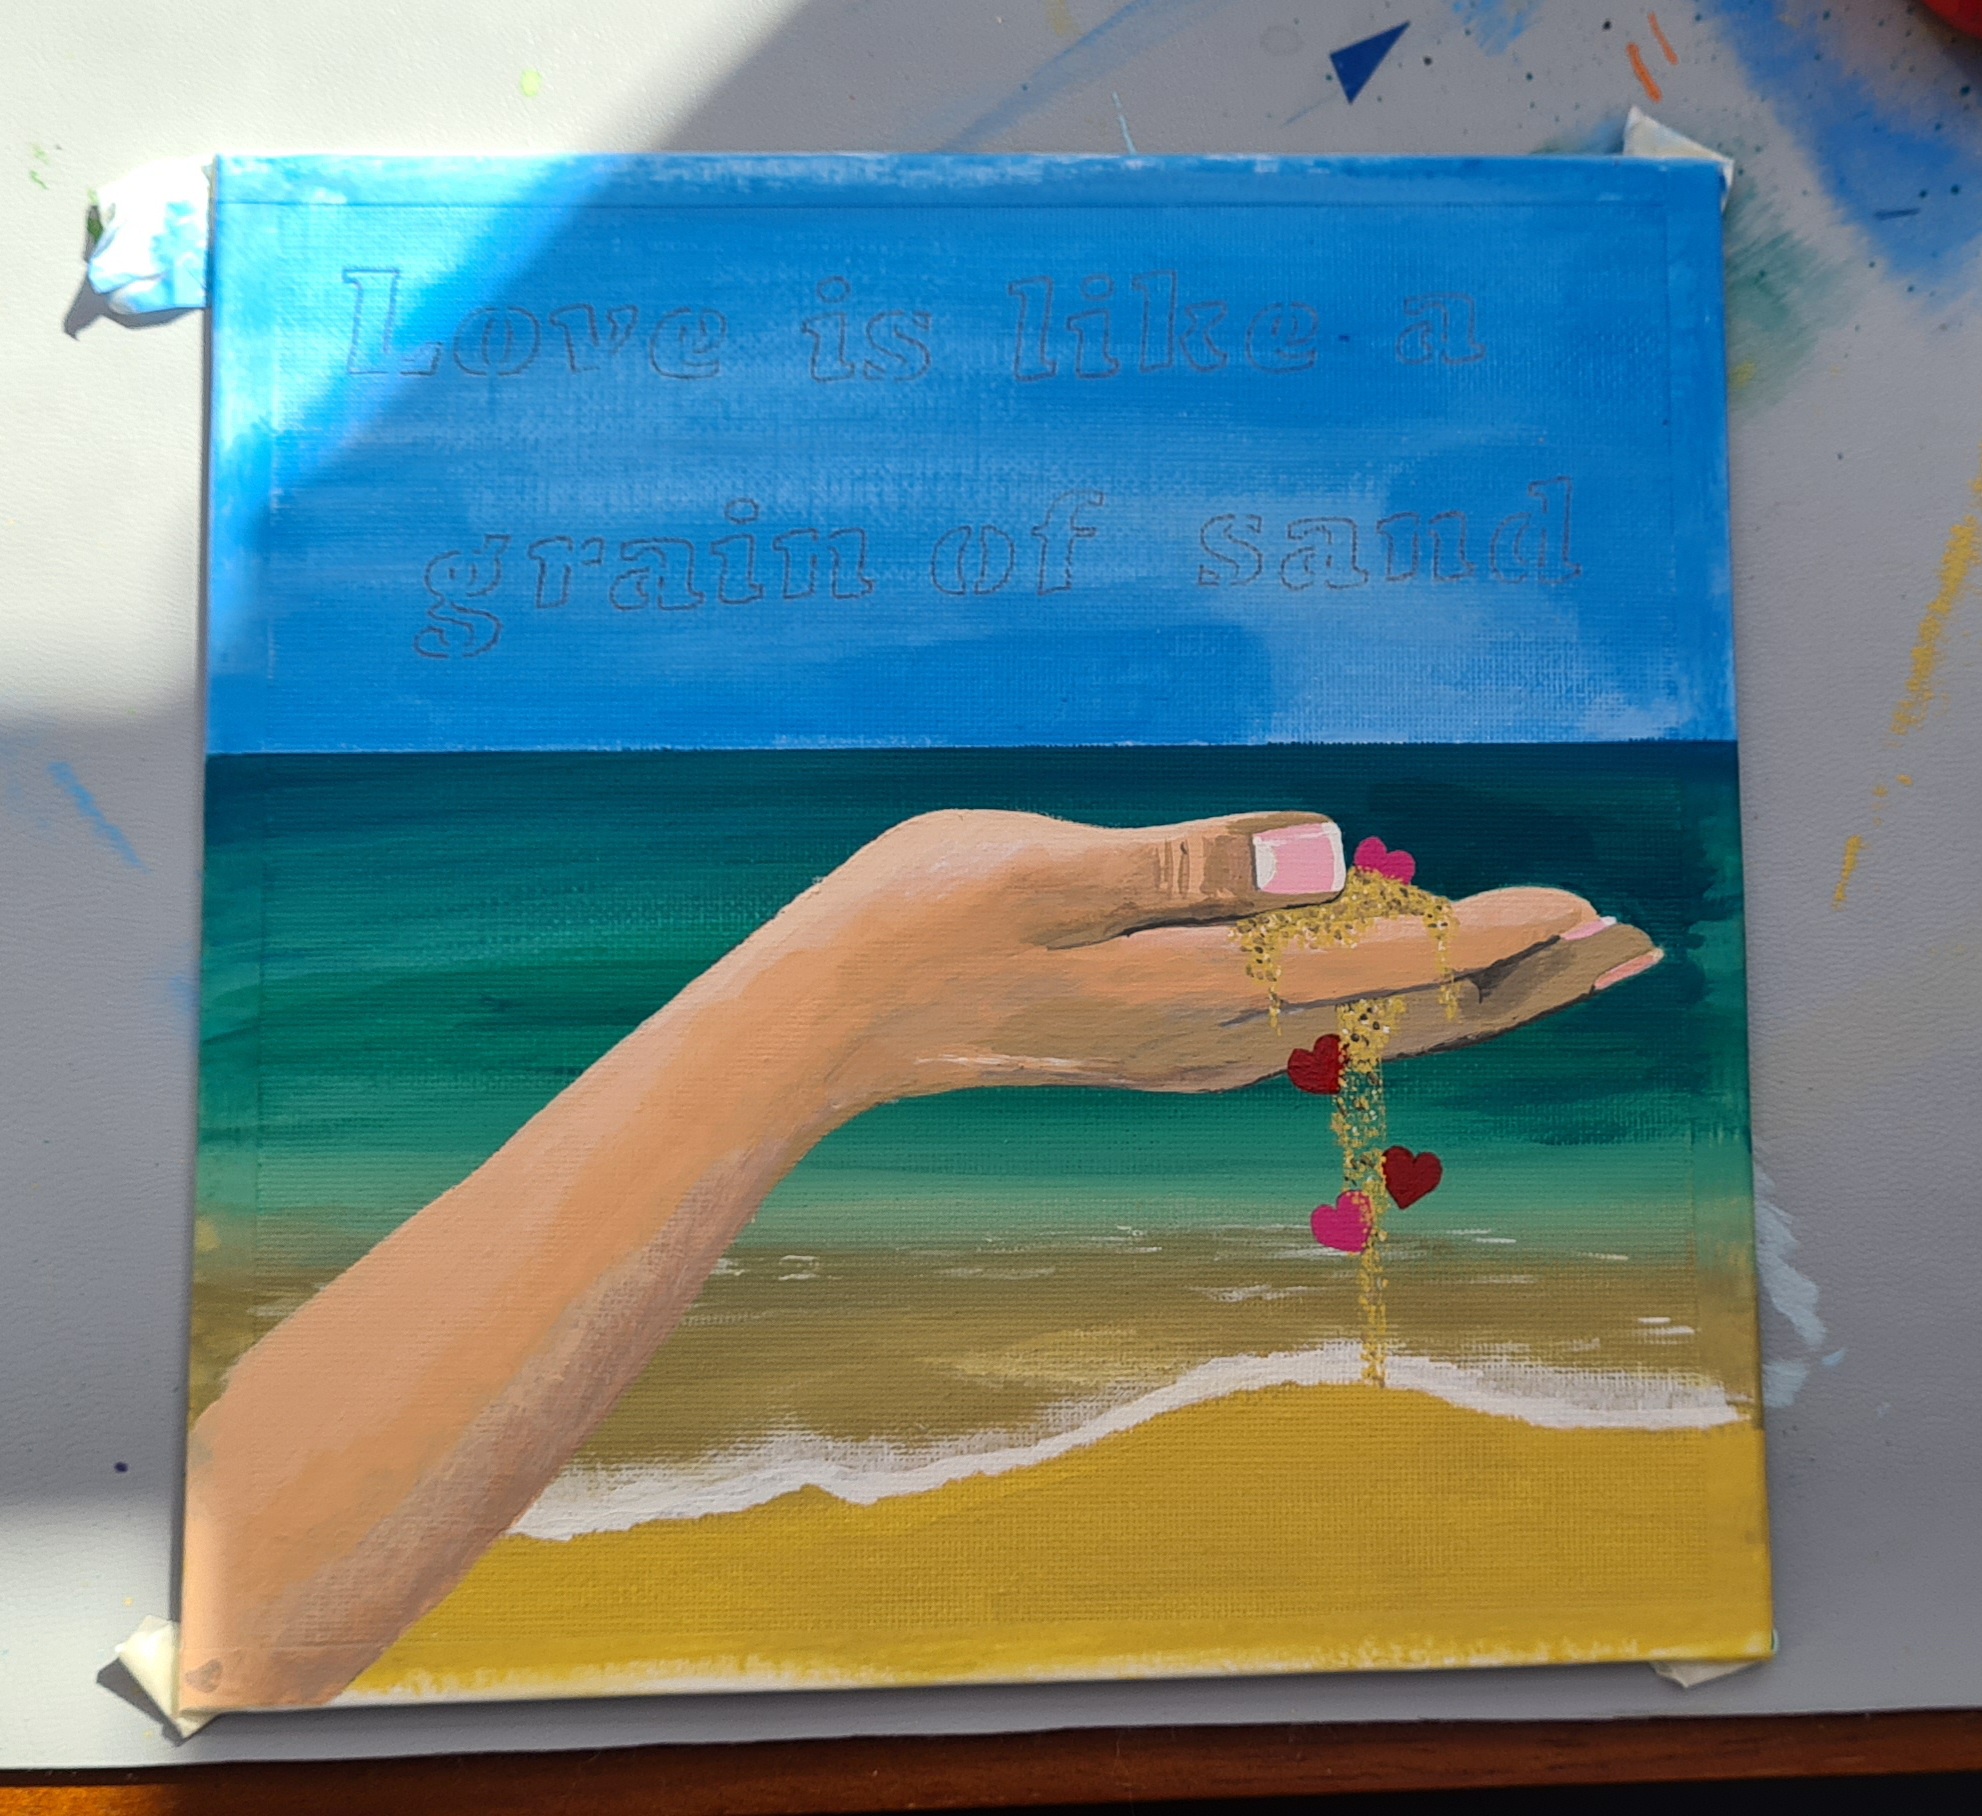
So, when I listen to Fleetwood Mac (as I often do) a song from the1982 album 'Mirage' called 'Oh Diane' I imagine the singer to have had a recent relationship break up and he is walking alone along a quiet sandy beach, stopping every now and again to think of what might've been, and bending down to take a handful of sand and letting it slip easily through his fingers, he realises how easily Diane slipped away from him.


I have added the grains of sands and the 'Love'.  Now time to paint the stencilled lyric.

Sunday, 28 March 2021

๐Ÿ– Out to Sea

013 Out to Sea

This project started out life as going to be another song lyric, 'Love is like a grain of Sand' from Fleetwood Mac's 1982 song  'oh Diane'  

This was to be the background and in the foreground, a hand and a mixture of sand and hearts slipping through the fingers as the next line of the song implies.  However this background was far too good in my opinion to cover up with a hand.  So I am keeping it like this.  

The Fleetwood Mac lyric, or another, will return at some point when I maybe have a better vision to accompany it.


Good call I believe.


Saturday, 27 March 2021

๐ŸŽถ On a Dark Desert Highway


012 'On a dark, desert highway'

The opening lyric to Hotel California a 1977 song by the Eagles.

 An Eagles song Lyric.


That's the background done.


Here I am adding the finer details

Sunday, 21 March 2021

๐Ÿฃ Happy Easter


009 Happy Easter 1


So this is the beginning of an Easter Artwork.  It's also experimentally using Tape again.

I have prepared a canvas background in Naples Yellow.  Left it to dry and then taped a Crucifix shape here, ready to paint Black.


Then I painted the inside of the Crucifix twice in black and then let it dry.


I have cut up some tape to make it thinner and then divided the Crucifix into random segments.


Now I have painted all the segments and I will let this stand overnight as it is dark and gone a bit chilly in my Conservatory Studio.  

I have had to be really careful painting the small segments and not going over the lines.  

Until I take all the tape off I am not gonna know if, 

ONE this has worked at all.  
TWO how well it may have worked and THREE how much Bleed and Peel there is, if any.

We will have to wait and see but I can't wait to do this bit ๐Ÿคฉ


20 March 2021


Here is the Easter Artwork this morning.  Some of the Red and Yellow segments are being a little stubborn and letting the Black through a bit.  I have lost count now how many layers they have had so now I am just gonna go for it.  

Time for the big Reveal.


I have been looking forwards to this bit.  I then did all the touching up areas, which was tedious but was well worth it for a crisp clean finish.


There is a lot of wispy lines on the stencil that I did use here but I was not happy with the result so I have gone over it all repainting those areas.


Before doing this stage on the one for mum, it will be a good idea to stick tape over the areas of stencil that I don't want.

This picture was taken after I had repainted it. 

Sunday, 14 March 2021

Tape Art 2

004 Tape Art 2
 

I was so pleased with the first one.  How bright the colours look against the Black background and the sharpness of the lines I wanted to have another go.

So I am reusing the other one of my old canvasses and started making the second in a set of modern art pictures.  All done in exactly the same way as the first.


After adding a few more random bits of tape I coloured it in with Acrylic Paints (adding a few extra colours this time).  This is it at the end of today, I pretty much spent the whole afternoon doing it.

With these tape pictures the fun bit is carefully peeling off the tape.  I will let it sit overnight before doing that bit.

So, I couldn't wait until morning, haha! 


Again, not too bad at all.  A little bit of bleed and Peel in places but again it's exactly as I expected it to be with probably about the same amount of work to do as the first one had.

Please Note though, this photo was taken just before 11pm and the lighting in the Conservatory was not at all good.  This photo was taken using the flash so the colours don't look as true as they would in daylight.

14 March 2021


Here is the finished piece after touching up all the bleed and Peel areas.  It is now complete and I will finish it off with a coat of Matt Acrylic Varnish.

Friday, 12 March 2021

Tape Art 1


003 Tape Art 1


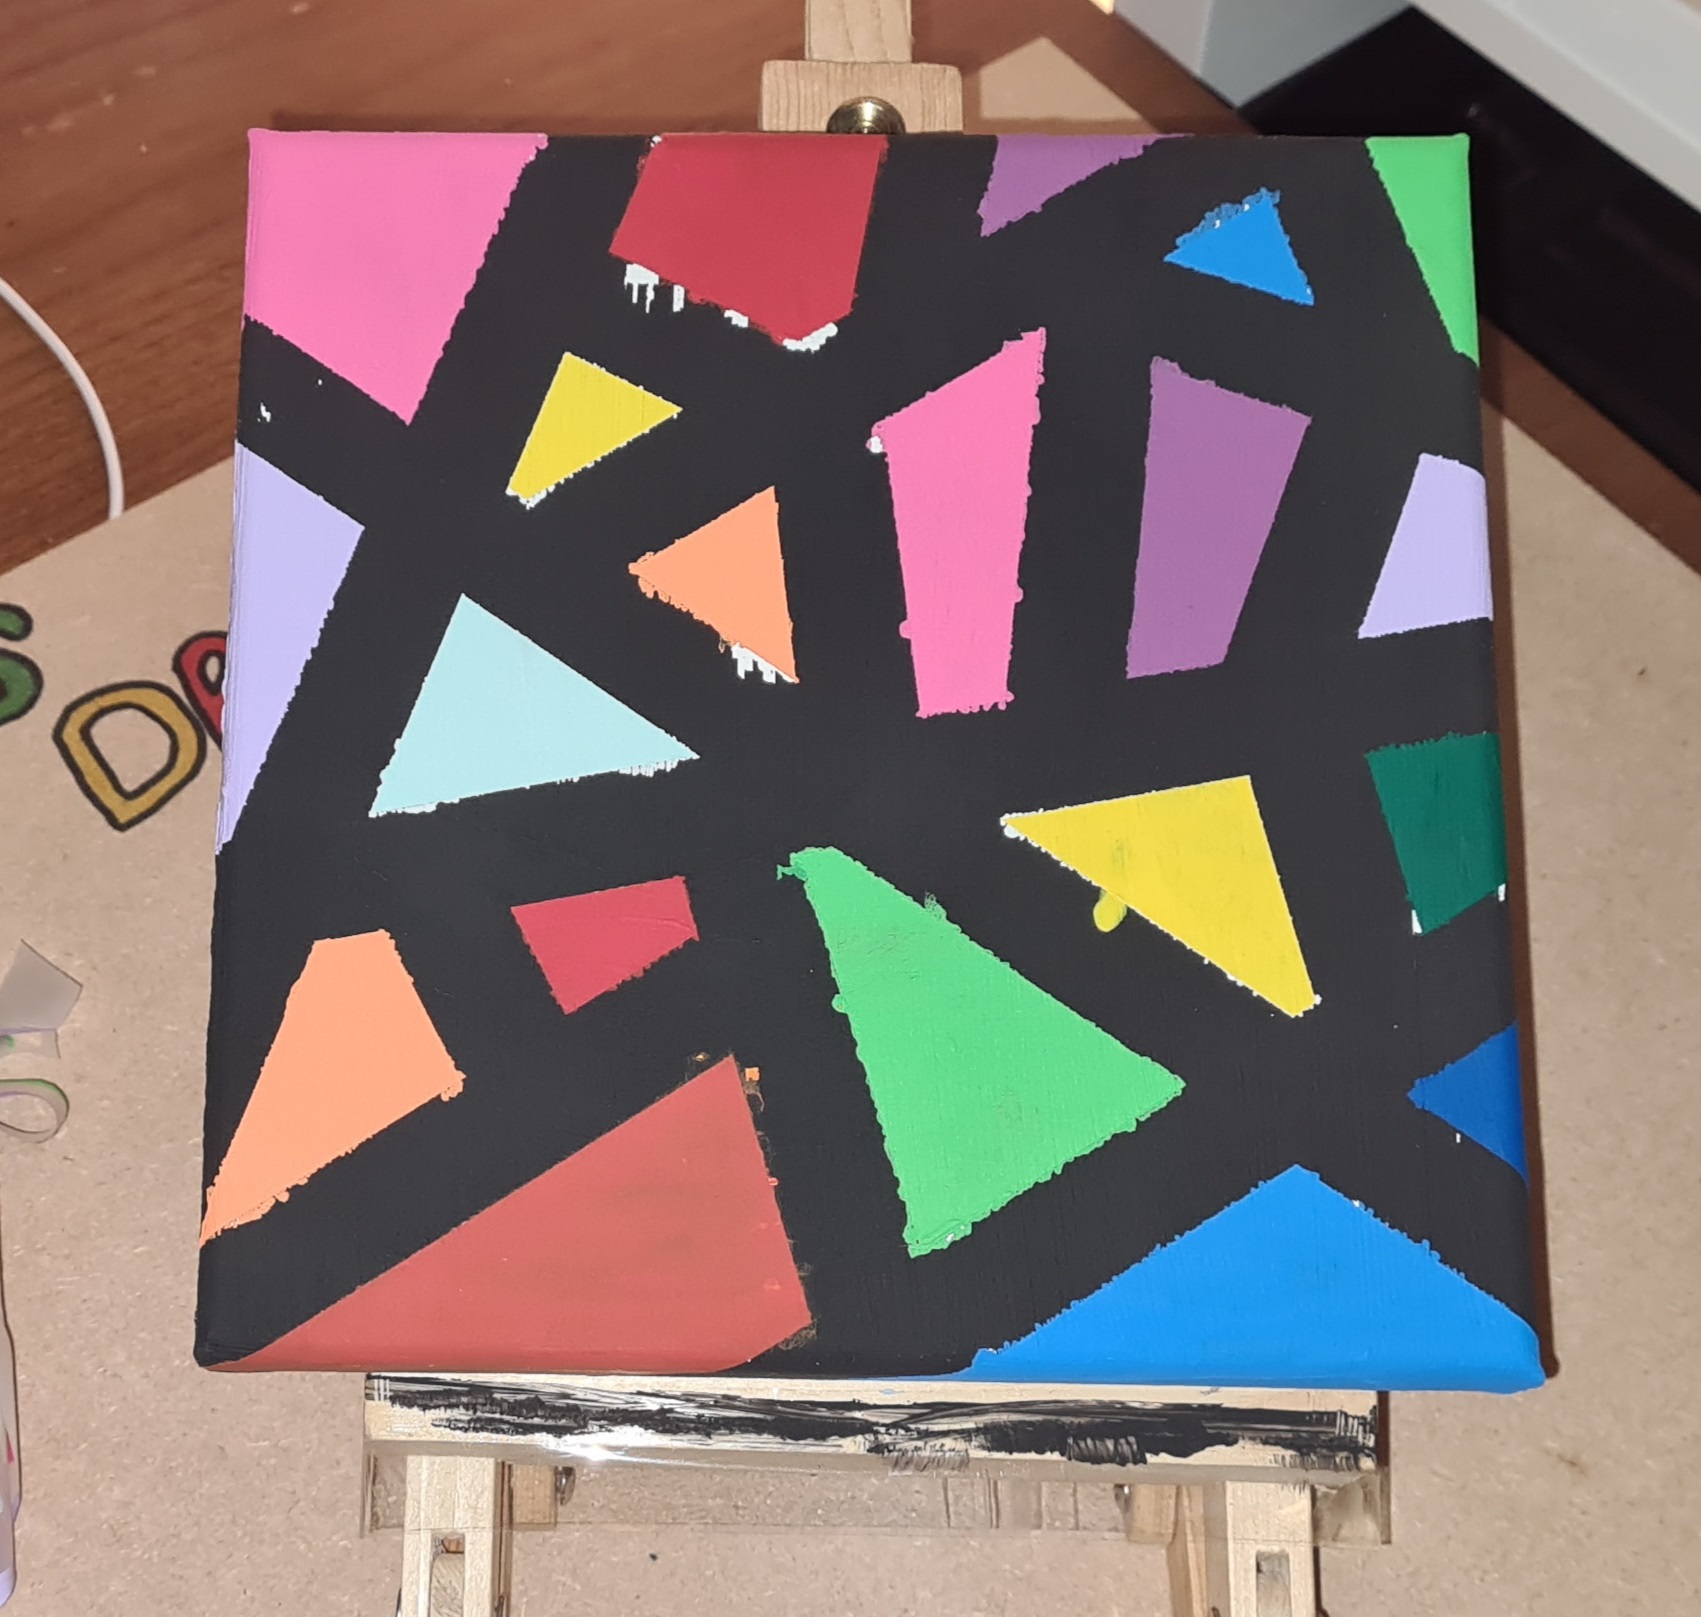
I painted this canvas Black the other day and wasn't sure what to do with it so I stuck tape over it and started colouring in the gaps in with bright Acrylic paints.  I just went for it.


All segments painted.  Now for the big reveal.  Carefully peel off all the tape.


And this is exactly what I expected. 

Some of the Black has peeled off to reveal the original blue that was on this recycled canvas.  

And some of the colours had bled under the tape which I can also spend today putting right.  

But, this stage has gone much better than I expected.

After careful touching up and fixing this was the end result.